Let's take a moment to talk about your standard Action-RPG. Most games of this type will have 4-5 basic classes, Mage, Ranger, Summoner, Cleric, and Tank, things of that sort. If this card game were an Action-RPG, this would be the Tank class, no doubt. It hits hard, and doesn't rely on gimmicks or magic to get the job done. Just weapons. Lots and lots of weapons.
This deck is all about brute force, increased by the power of an absurd amount of Equip Spells. It's like when your character picks up a whole backpack of weapons just because he can, even though you only use 1 at a time. This deck uses the entire backpack full of drops all at once.
The overall approach of this deck is equipping monsters with numerous Equip Spells to reach high attack levels that can take down some of the strongest Boss monsters in the game, provided you can survive the negative outcomes of their effects. All of the monsters in the main deck, aside from 2 are Non-effect Monsters, (AKA Normal Monsters), and the Extra Deck monsters are Effect Monsters that protect themselves and your Normal Monsters.
There are 3 basic ways to play this deck, which is partly dependent on your starting hand, and what you draw as the duel goes on. Method A: Equip each Normal Monster with an Equip card and maintain Field advantage. Method B: Give everything to Maha Vailo. Method C: Unleash the power of the Tenyi Link Monsters. With the help of a few special Traps, it is possible to switch playstyles mid-game without putting yourself in a bad spot, allowing you to ruin an opponent's play, or just confuse them.
Before we cover each potential playstyle, lets take a quick look at all the sweet loot drops we've acquired on our quest. These will come in handy with all 3 playstyles.
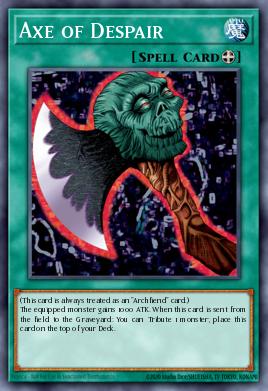
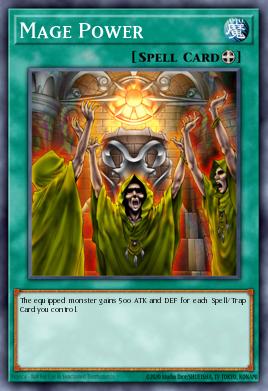
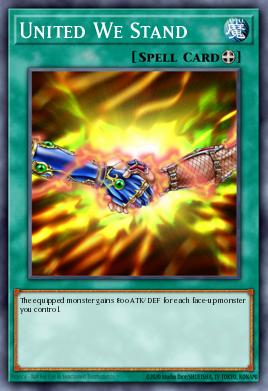
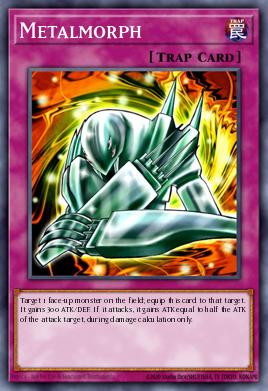
Axe Of Despair: Increases a monsters ATK by 1000. Mage Power: Increases a monsters ATK and DEF by 500 for each Spell/Trap you control. It doesn't matter whether or not the card is Set, as long as its in the zone, it counts. With a full backrow of Spell/Traps, a single monster gains 2500 ATK. Throw down a Field Spell for a total of 3000. This deck contains 2 copies of Mage Power, and having both equipped with full power provides 5000 ATK and DEF. Ouch. United We Stand: The equipped monster gains 800 ATK and DEF for each monster you control. Just like Mage Power, this card gets boosted just for having monsters on your Field. Having all 5 main Zones filled and a Monster occupying the Extra Zone provides a nice attack boost of 4800. This deck contains 2 copies of United We Stand, and having both equipped with full power provides 9600 ATK and DEF. Oh mah lawd! Metalmorph: A Trap Card that provides 300 ATK/DEF. If the equipped monsters attacks, it gains ATK equal to half of the attack target, during damage calculation only.
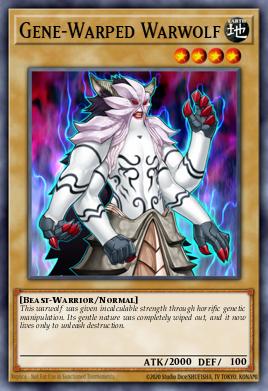
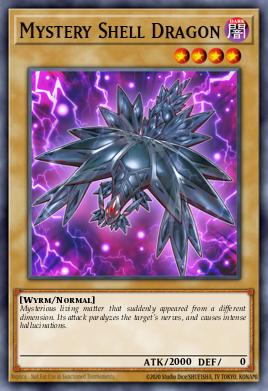
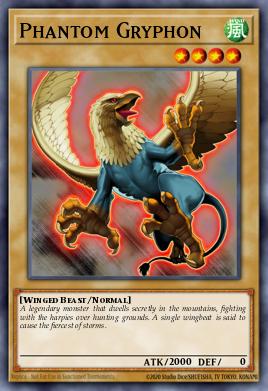
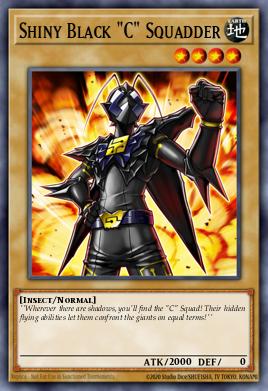
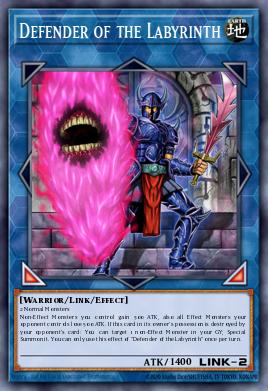
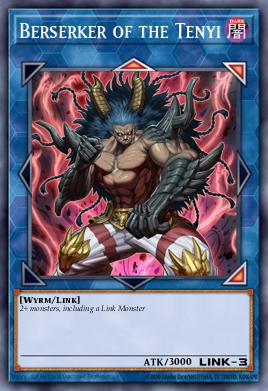
PLAYSTYLE A: "Tank Class Raid Party" This playstyle revolves around equipping each of your Normal Monsters with at least 1 Equip Spell. As mentioned earlier, the more cards present on your side of the field, the higher the number climbs. Each of your monsters are going to be exactly the same, aside from Type and Attribute, which doesn't matter within this setup. They all are Level 4, and have 2000 ATK and 0 DEF. At the time of writing, there are currently 10 Normal Monsters that share these 3 traits: Alexandrite Dragon, Gene-Warped Warwolf, Shiny Black "C" Squadder, Zombino, Mystery Shell Dragon, Gunkan Suship Shari, Leotron, Phantom Gryphon, Megalosmasher X, and Mekk-Knight Avram. You will need 15 of these monsters in the deck; which ones and the amount doesn't matter, except for Mystery Shell Dragon. You absolutely need 3 of this guy, and I'll explain why in Playstyle C. This deck's only XYZ Monster and 2 of the 5 Link Monsters are best utilized in this playstyle as well. Photon Papilloperative is a Rank 4XYZ Monster with 2100 ATK that requires 2 materials to Summon. This monster changes an opponents Defense Position Monster to Attack Position and lowers it's ATK by 600. Defender Of The Labyrinth is a Link Monster who requires 2 Normal Monsters to Summon. He boosts the ATK of all Normal Monsters you control by 500, and lowers the ATK of your opponent's Effect Monsters by 500. If he is slain, you can Special Summon 1 Normal Monster from your Graveyard. Be absolutely sure to give this guy an Equip Spell, as his base ATK is only 1400, which makes him an easy target. You can use Defender Of The Labyrinth'sLink Ratingof 2 and 1 additional Monster to Link Summon Berserker Of The Tenyi, a Non-Effect Monster rocking a solid 3000 ATK.
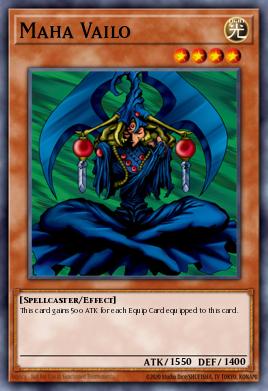
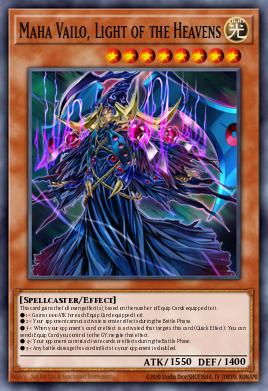
PLAYSTYLE B: "Lord Broham's Legacy" Maha Vailo and his retrained counterpart Maha Vailo, Light Of The Heavens are downright broken in a setup like this. Maha Vailo is a Level 4 Spellcaster sporting 1550 ATK, which might not seem like much, but what makes this guy so special is his amazing effect. He gains an additional 500 ATK for each Equip Spell Card equipped to him. Axe Of Despair alone jumps his ATK up to 3050, enough to just barely overpower Blue-Eyes White Dragon. If you have 6 monsters on your side of the field, and have Maha Vailo equipped with 2 Mage Powers, 2 United We Stand, and an Axe Of Despair, his ATK becomes 19,650. Obviously, his maximum ATK is a bit unessessary, but the point is, its not hard to boost this guy's strength to ridiculous heights. Maha Vailo, Light Of The Heavens more or less works in the same way, but gains additional effects based on the amount of Equip Spells he's holding. What's more, he gains an additional 1000 ATK for each Equip Spell equipped to him. Having 2 or 4 Equip Spells prevents your opponent from activating Monster Effects or Card Effects respectively during the Battle Phase, and having 3 lets you negate an Effect that targets him by sending one of your Equip Spells from anywhere on your side of the field to the Graveyard. Lastly, having 5 doubles Battle Damage this monster inflicts. During the unlikely scenario described earlier, this monsters maximum ATK using this deck's setup is 22,150. In most situations, regular Maha Vailo is much easier to work with, as his retrained version requires 2 Tributes to Summon, also if your Equip Spells are already on the field, without using Collected Power, he won't have much to work with. Once he's fully geared up though, he's damn near impossible to stop. Just 1 warning: BEWARE OF MAGIC CYLINDER!
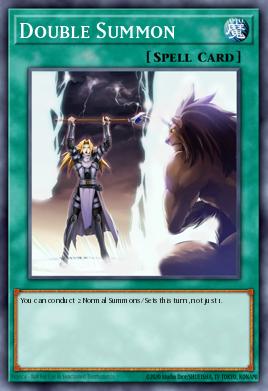
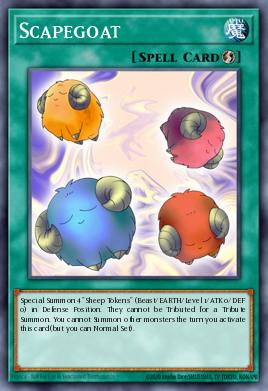
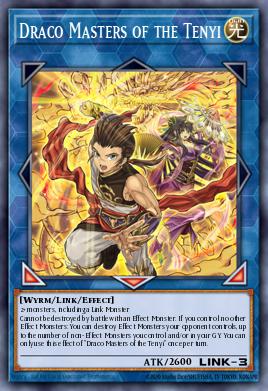
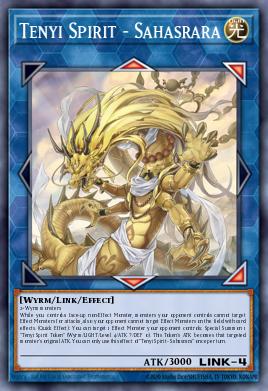
PLAYSTYLE C: "Tenyi No Like Effect" The remaining 2 Link Monsters in the Extra Deck can honestly put pressure on your opponent by themselves, but having at least 1 of your Normal Monsters present helps even more. Before we reveal the powers of the Tenyi, let's learn how to summon them first. Draco Masters Of The Tenyi has a Link Rating of 3 and requires a Link Monster as well, while Tenyi Spirit - Sahasrara'sLink Rating is 4 and also requires 2+ Wyrm Monsters. Obviously, you'll need Draco summoned first before you can get Sahasrara. There are a few ways to do this. Firstly, while you already have a monster on your field, you can Normal Summon a Normal Monster, use it to Link Summon Link Spider, then use it's effect to Special Summon another Normal Monster from your hand, and there you go. 3 Monsters. Draco Masters Of The Tenyi can now be summoned. Double Summon can be used if you intend to get him out in one turn and your Monsters Zones are currently Vacant. The other way to get Draco out is to pop Scapegoat, and use one of the tokens to get Link Spider. A reminder that Scapegoat Tokens are treated as Normal Monsters. Link Spider's only real purpose is to be Link fodder for Draco, it's weak ATK power of 1000 renders it useless otherwise. Tenyi Spirit - Sahasrara's summon requirement is 2+ Wyrm monsters. Even though Draco is a Wyrm type, he alone only contributes a Link Rating of 3. This is why we have 3 Mystery Shell Dragons. It is Wyrm type. Using Draco and a Mystery Shell Dragon is all you need to summon Sahasrara. Now, what exactly do they do? Make life difficult for your opponent, that's what. Draco has 2600 ATK and can only be destroyed by battle by a Normal Monster. Give him an Equip Spell and chances are your opponent won't be able to do that. Also, it's effect allows you to destroy your opponents Effect Monsters equal to the number of Normal Monsters you have on the field or in the Graveyard, as long as you do not control another Effect Monster other than Draco. Sahasrara on the other hand, has 3000 ATK, and prevents all of your effect monsters from being targeted by attacks or card effects so long as you control at least 1 Normal Monster. A boosted one will do just fine. At this point you can taunt your opponent if you know that they don't have a Raigeki or Dark Hole. Sahasrara can also target 1 of your opponent's Effect Monsters and generate a Token with ATK power equal to the chosen target, which provides you with the Normal Monster needed to maintain his awesome protection effect.
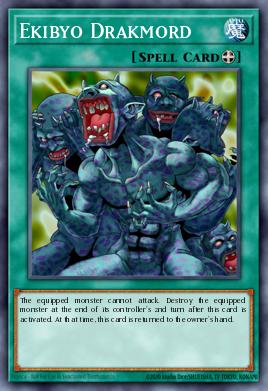
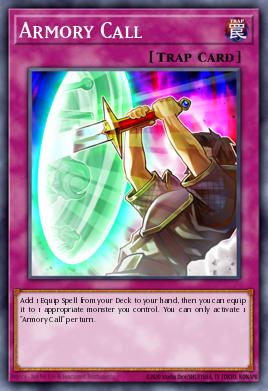
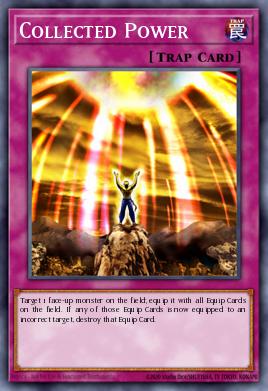
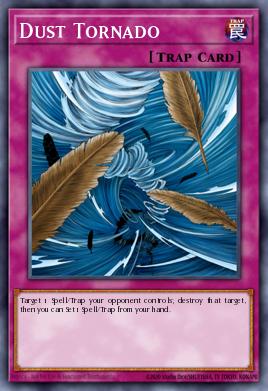
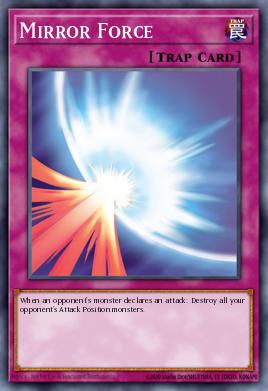
At last, lets cover the remaining cards among the deck, which can be used effectively in each playstyle. First of all is Double Summon, which is just used to establish Field advantage, summon Maha Vailo, Light Of The Heaverns a bit easier, or quickly perform a Link Summon. Scapegoat is to be used for emergency defense, or a speedy Link Summon. It can also be used for a very fast boost to United We Stand. Armory Call can be used to gather an Equip Spell in a pinch, while Collected Power transfers all Equip Spells on the field to a single target. This is the easiest way to give everything to Maha Vailo, and it even takes your opponents Equip Spells as well. Just be sure not to use this while you have Ekibyo Drakmord active. Ekibyo Drakmord is an Equip Spell that you equip to one of your opponents monsters. While equipped, it renders them unable to attack, and at the end of the 2nd turn after its activation, the equipped monster is destroyed, and Ekibyo Drakmord is returned to your hand. Lastly, you have 3 Dust Tornadoes used to destroy set Spells/Traps, and 2 Mirror Forces to be an ass towards your opponent.
This deck exists purely as an entertainment tool, and is not to be taken seriously. It's not what I would consider "Top-tier" and if you don't get it properly setup quickly, it can be tough to recover from your opponent's Field dominance. It is immensely satisfying when you do get it to work though, and was mainly created because I love Maha Vailo so much, and was just curious as to how well I could get him to work. If you're like me, and just want to have fun, give this deck a try. Despite the lengthy review, its very simple to use, it's relatively cheap, and cards like Mage Power and United We Stand are interchangeable and work well in almost any deck. As always, feel free to share any idea/strategies you may have, and I'll look into them. Who knows, maybe together, we can make this a Top-tier deck after all...
Are you sure you wish to delete this deck? Once a deck is deleted, it cannot be
retrieved.
Master
Duel Cost Breakdown
Export Deck
Export to Image
Export to List
Export to Tabletop Simulator
Export Deck to Master Duel/Neuron
You can export your deck directly from YGOPRODeck to Yu-Gi-Oh! Master Duel or Neuron using our Web Browser extension!
Simply install the extension, and click the button below to export your deck to Master Duel or Neuron! It will bring you to the Official Konami Database. Once there, you can edit a deck and hit the "Import clipboard and save" button!
Price
Deck from
Total Estimated Deck Price:
This tool attempts to find the lowest Market Price for each card on
.
This will download all images used in this deck and zip them up for you. This is done on
your computer and could take a minute or so to complete so please do not close the
page.